 |
||||||||
|
It's Free! |
||||||||
 |
||||||||
| ~Follow Us~ | ||||||||
|
||||||||
|
It's Free! |
||||||||
|
||||||||
| ~Follow Us~ | ||||||||
 |
||||
| By Christian Sturtz | ||||
|
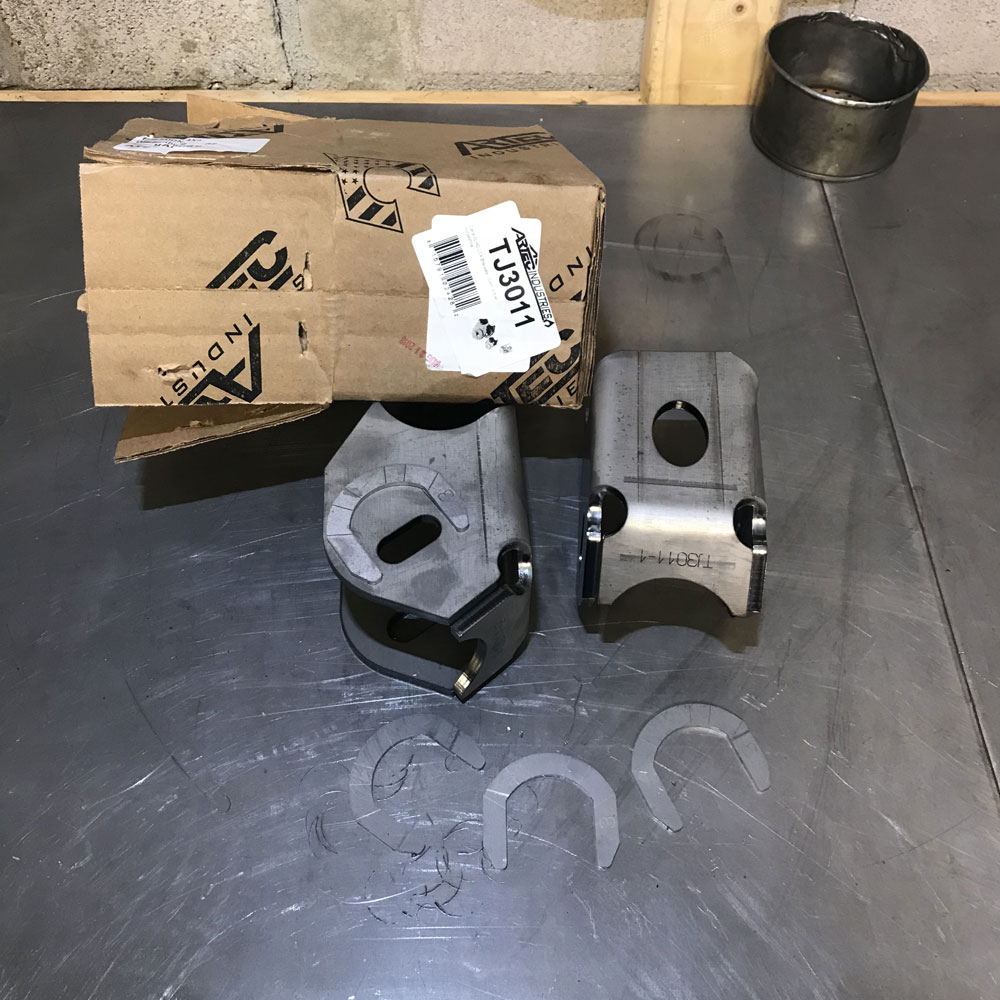
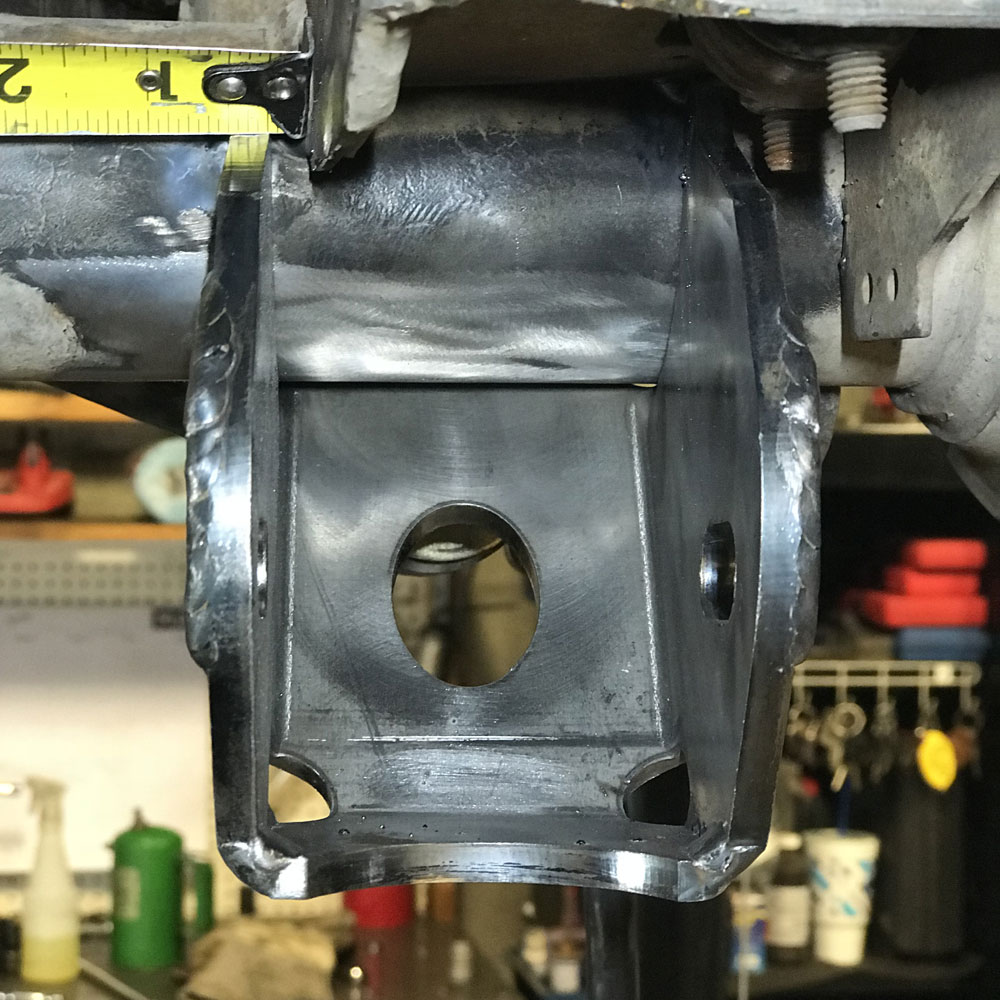
Most of today's production vehicles are made with the economy in mind. How does this affect your 4x4? Vehicle manufacturers often make parts thin or weak enough to just do their job and that's about it. They do this for a few different reasons; if they make it lighter, it not only helps with fuel economy, but it will also help with their production and material costs, which affects their bottom line. This affects you as an off-roader, when you want to modify your vehicle or start hitting harder trails because you may run into problems with vulnerable components. One of these vulnerable components on Jeep models (MJ, XJ, ZJ, and TJ) are the lower control arm mounts on the front axle. The lower control arm mounts are low on the vehicle, constructed of a thin material and are one of the first things to encounter an obstacle. There are a few companies that have different options for strengthening your lower control arm mounts, including weld on and clamp on skid plates for the front of the control arms. However, Artec Industries offers one of the best options, replacing the whole lower control arm mount. Artec's lower control arms are constructed out of ¼" material, compared to the factory arms that are made with 1/8" material. Additionally, the mounts are precision laser cut and CNC press broke for an exact fit every time. These mounts are available in two designs fitting both Dana 44 and Dana 30 models. The single-hole design (Part #TJ3012), which is typically used with adjustable lower control arms and a slotted-hole design (Part #TJ3011), which works with fixed and adjustable length arms. They also have an integrated skid plate, which allows the mount to slide over rough terrain and obstacles. Most importantly, with their self-aligning design, installation is a breeze with only one measurement required for correct placement. 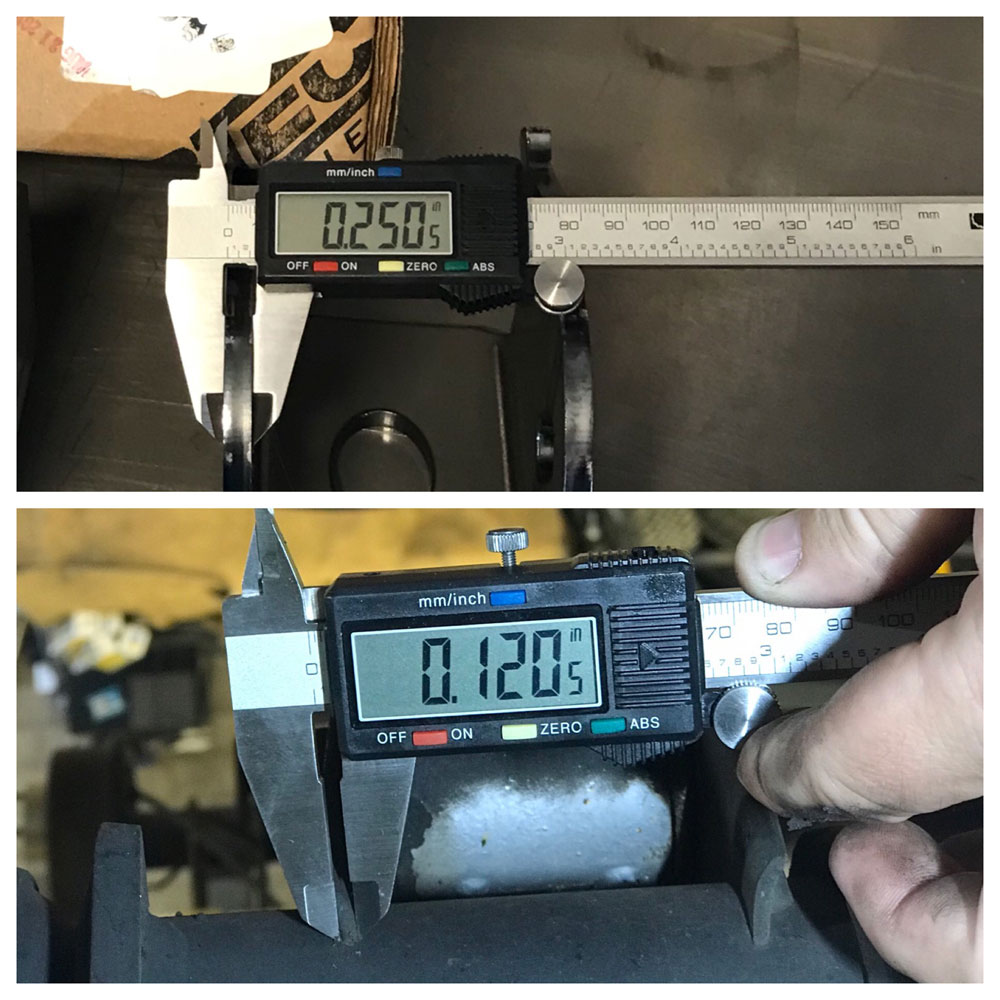
For this installation, we are upgrading the lower control arm mounts on a Cherokee and we have chosen to use the slotted-hole design for its versatility. The slotted-hole design allows you to give the front-end more or less caster, so if using it with an adjustable arm you can quickly fine-tune the front-end. However, it is important with the slotted-hole design that you use the correct excentric bolt with excentric washers or regular bolts with big enough washers to take out the space of the slot. This install will highlight the installation of Artec's lower control arm mounts on any MJ, XJ, ZJ, and TJ as the installation is the same for these models. Before beginning the install you will need something to remove the factory brackets (such as a plasma cutter/torch, reciprocating saw, or grinder with a cutoff wheel), basic hand tools (if the vehicle has factory arms and bolts you will need two 21mm sockets or wrenches), tape measure, welder, and grinder with a hard wheel/flap disc.
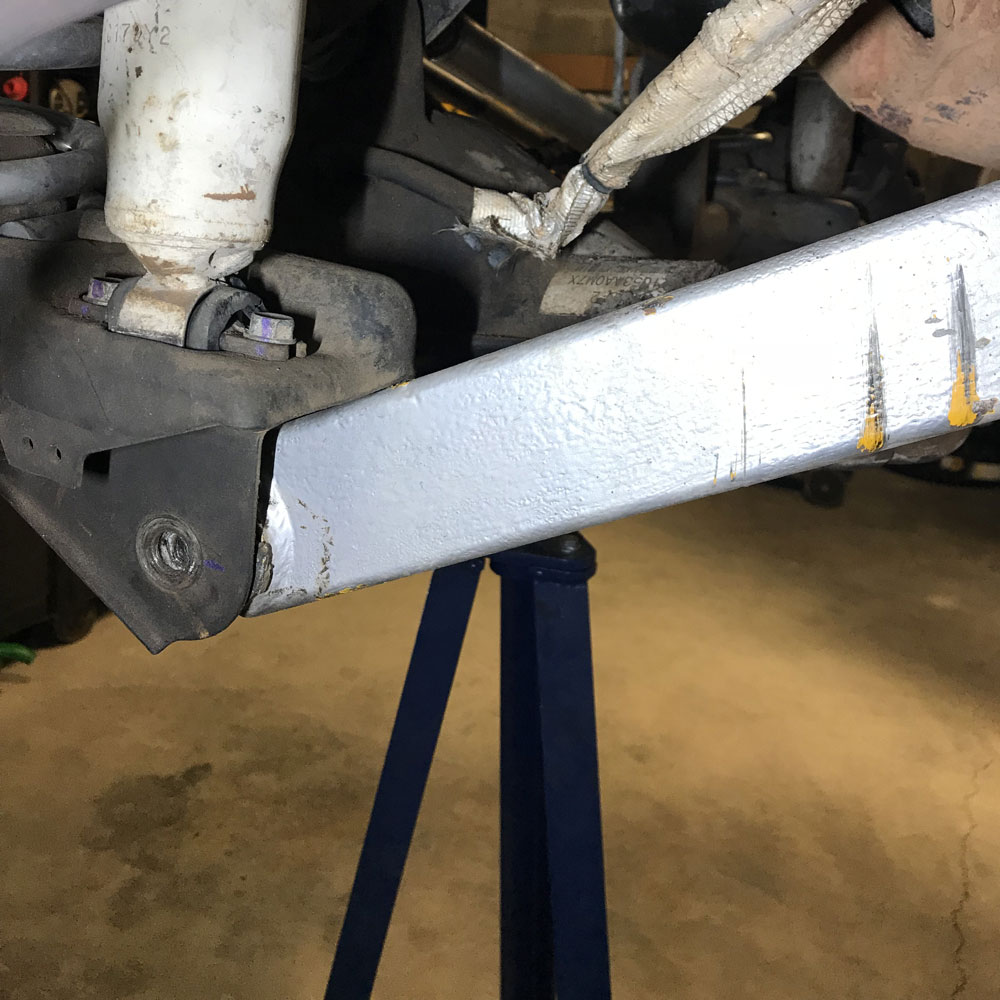
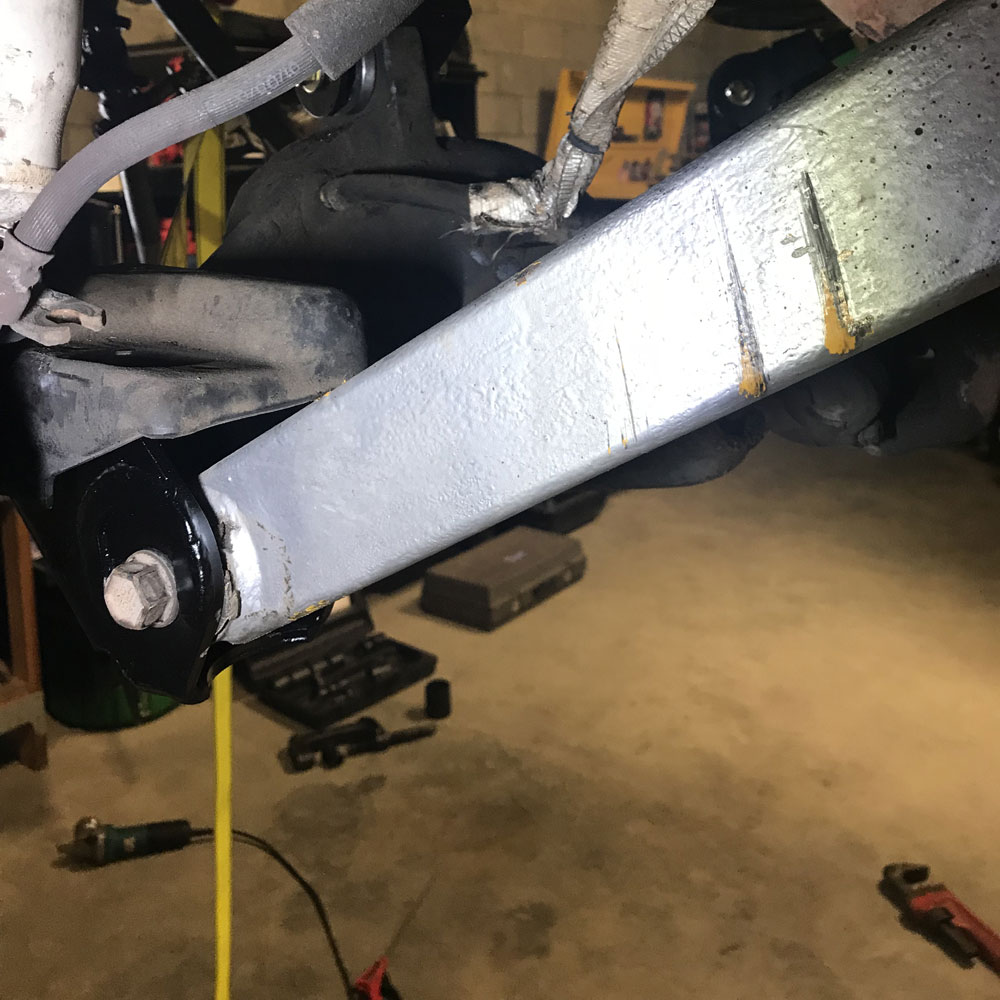
To begin, support the vehicle by the chassis and remove one lower control arm from the axle side.
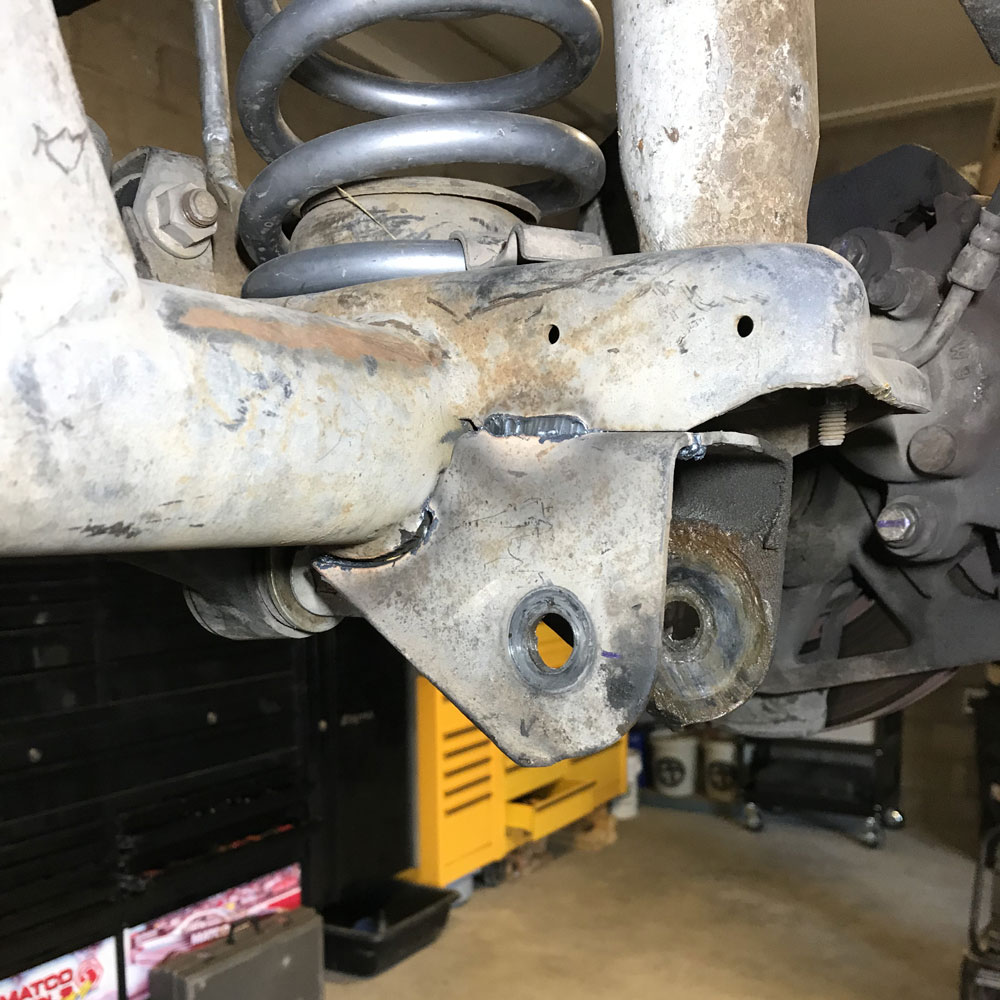
It works best to loosen the bolt on the frame side, which will allow you to swing the arm out of the way. Cut the factory control arm mount off, but be careful not to gouge or cut into the axle tube.
After completely removing the bracket grind the axle tube smooth.
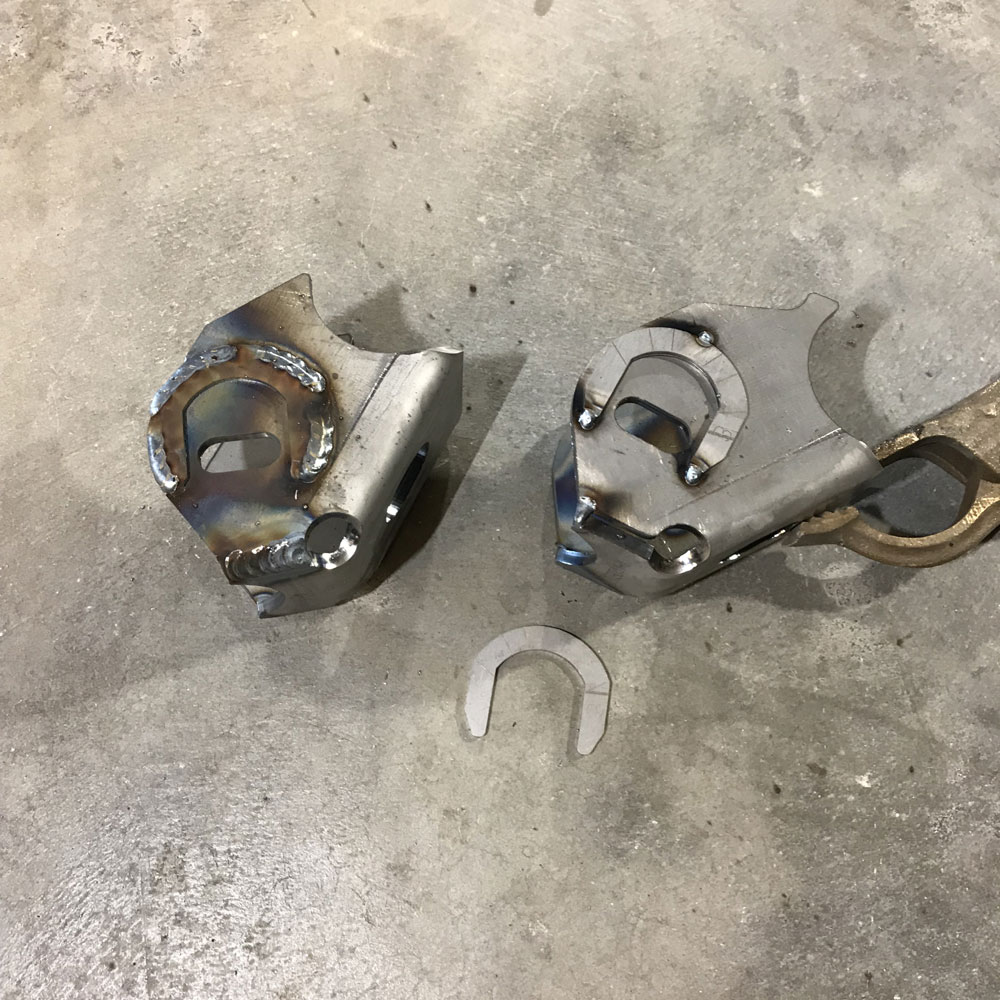
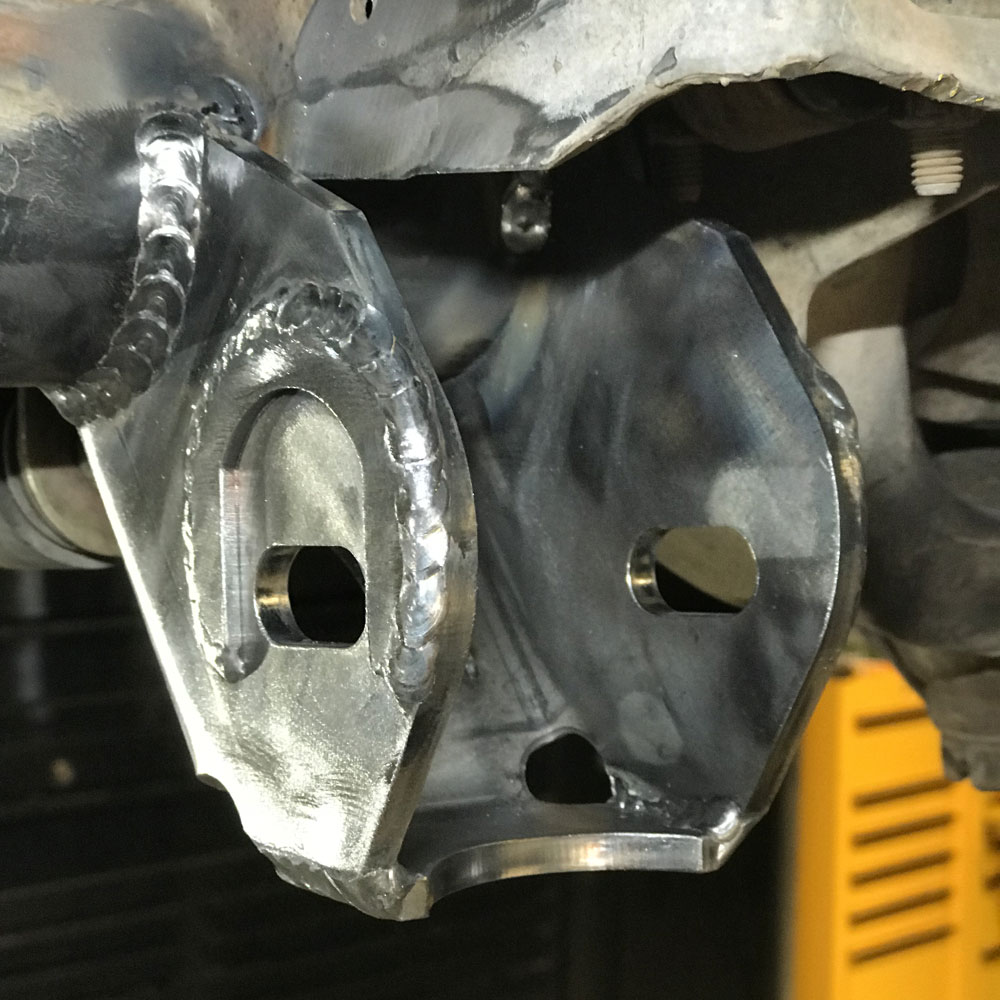
Next, prep the new Artec mounts for install by welding the front skid plates (if using the slotted-hole design you will need to weld the excentric guides on too).
Now, hold each mount up to the axle to determine which one is correct for the side you started with. You can determine the correct mount by placing it on the axle tube and if the opening in the mount for the control arm angles toward the center of the vehicle you have the correct mount. Place the mount against the axle tube and rotate the mount up until it touches the bottom of the shock mount. Measure over from the side of the shock mount ¼" (typically about the width of the weld on the shock mount) and tack the mount in place.
It is recommended that you tack the mount in at least four places to prevent the mount from shifting while you weld. The mount should be touching the axle tube all the way around the radiuses of the mount. Weld the mount to the axle, wait for it to cool and paint it.
Reinstall the lower control arm and repeat the same steps for the other side.
|
||||